
📅 Published: April 1, 2022 🔄 Updated: October 15, 2024
Technology has an impact on almost every aspect of our lives, from transportation efficiency and safety to food and healthcare access, socialization, and productivity.
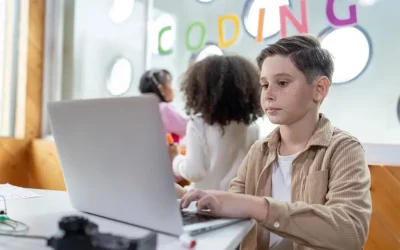
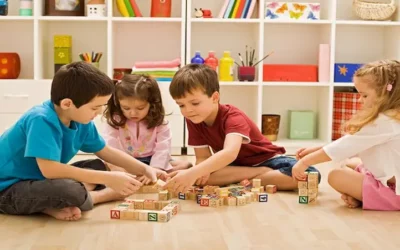
The ultimate future will be technologically developed so we need our future generation and ourselves to be prepared for it.
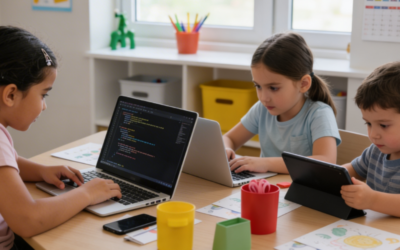
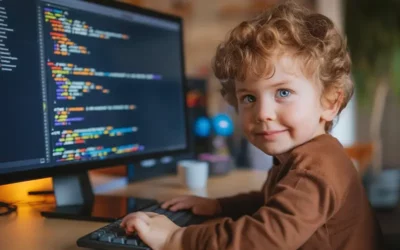
Coding helps us understand, more about technology and it teaches us how to think. Coding can give answers to many of our day-to-day mysteries and problems.
There are many simple logics and theories which can be beautifully explained and understood by children with the help of coding.
The Scrolling Background in Scratch is one such wonderful idea and imagination that children can put into action using coding.
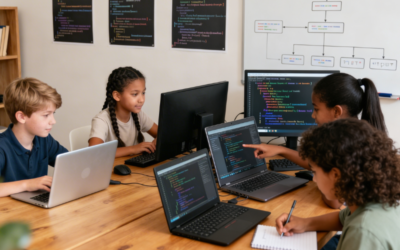
Coding can be done in two ways: block-based or text-based. If we compare the two, block-based coding is extremely simple to learn and equally useful.
In this blog we are going to learn all about the Scrolling Background:
So scrolling background is something in which the background moves but the objects on it do not, so before we get into the project, let’s talk about a simple concept called Pseudomotion.
Before diving into the blog, You can check out the video.
Table of contents
Pseudomotion
If you ever observed while sitting in a car or a train or a motorcycle you see that the trees outside are running behind and we feel like they are moving.
But in reality, we are moving forward and the trees are not moving anywhere and we still feel that they are moving so that’s called ‘Pseudomotion’.
Similarly, this scrolling background project works on the concept of Pseudomotion.
About Scratch Platform
Scratch is an online programming platform that is used for creating games and used for narrating and creating our stories. This versatile platform, much like the interactive and storytelling elements in Scratch coding for kids, enables young learners to explore the world of programming through game development and storytelling.
Scratch is designed for students aged 6 to 16, and anyone, regardless of age, can use it. Most children find it easy to use because it is block-based and simple to use.
How To Create An Account On Scratch
First and foremost we need to create an account in Scratch. Go to the Scratch website and create an account by giving a special username and a simple password.
Click on the create option to start creating.
There will be a pretty cat that will be our Scratch character called a sprite, and you can add or delete spites by clicking on the cat icon on the left side, and you can also add background by clicking on the image icon.
There is a green flag to start the game and a red button to stop it.
The middle section is known as the script editor, the left section with the codes is known as the code palette, and the right side white space with the cat is known as the stage area.
Steps For Creating A Scrolling Background in Scratch
We learned about ‘Pseudomotion’ at the beginning, which is something that makes us feel like the background moves but the sprites don’t, so let’s learn how to make that into a Scratch project.
Step 1: To begin working on our project “scrolling background,” firstly, click the ‘create’ button.
Step 2: We need to draw a sprite, so click on the small cat icon at the bottom, you’ll get a brush. Click on it and color it completely with your favorite color, then set its size exactly to the stage area and draw some stars, dots, or other shapes on the sprite with a different color.
Step 3: Now add a sprite from People.
Step 4: Let’s get started by clicking on the first sprite you made, which is the background sprite. Next, create two variables, CloneY and RegularY, by clicking on variables from the code pallette.
To begin, let us define cloning. Cloning is defined as the copying or repetition of the same object.
Step 5: RegularY will be the first variable to begin at position 0 and will continue until it reaches the bottom, which is at 350 around the clone that will begin, and the loop will continue.
Step 6: CloneY will continue from where the RegularY finishes.
Step 7: Now add a “when flag clicked” code from events.
Step 8: Now “set the CloneY to 0” from variables. Under “when flag clicked” we are setting the value of the Clone to 0 so it starts from 0.
Step 9: Now, from variables, add the code “set RegularY to 359” because the bottom of the y axis and the top of the y axis are 180 coordinates, so for one sprite to move from top to bottom it takes 360 coordinates, so just before we get over the 359, we’ll change it so it comes back.
Step 10: Now we start coding for RegularY so add a “when flag clicked” code again and then we will start cloning so add a create clone of myself code from control.
Step 11: Now add a position code from motion as “goto x=o and y =0” because we are adding it from the middle.
Step 12: Now add a “forever” from control so the next process we are doing would be continued till the last.
Step 13: Now add a “set y to 0” code and a RegularY from variables in place of 0.
Step 14: Now we will change the position of y by negative 10 so that it would keep on moving to the bottom. Add a code from variables which is “change RegularY to -10”.
Step 15: Now, if the RegularY is less than -359, which is at the top, the backdrop sprite should begin at the 359 coordinate.
So add an if code and a less than code from operators inside it, and add “RegularY -359” inside the “if() then” block, then if its true, add “set the RegularY to 359” from variables inside the If block.
Step 16: Now, add a code that says “When I start as a clone” and then duplicate the code of RegularY codes from the position code.
Change everything inside of it to CloneY and then change the position of y to 359 as it starts from 359 inside “go to x(0) y(359)”.
Step 17: To make our other sprite visible at the top, add the go-to front layer code from looks inside the other sprite, as well as a flag clicked code and the next costume code inside forever.
That’s it we have made a wonderful scrolling background project.
Conclusion
There are two types of coding methods: block-based and text-based. When comparing the two, block-based coding is far easier to learn and far more useful.
Scratch is a block-based coding platform that allows users to create a wide range of awesome projects, games, animations, and so on.
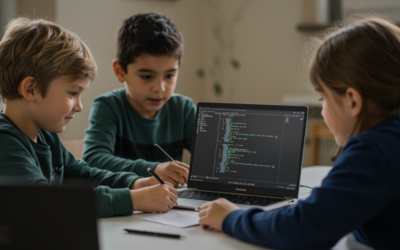
Many simple logics and theories can be understood by children with the help of coding, and children can bring many of their imaginative ideas to life.
The Scrolling Background project on Scratch is an example of an idea and imagination being brought to life through coding.
Learn Scratch at BrightChamps with its specially designed curriculum that makes learning programming easy for students in Grade 1-12.
BrightChamps also teaches a variety of other programs that help kids build a foundation in computer programming through activities, interactive lessons, and other means.
Elevate your child’s learning journey with BrightChamps, the leading EdTech company offering a transformative blend of robotics, financial education, and coding courses.
To get your hands on more such articles, educational content, and free resources on kids coding languages, robotics courses for kids, game development, etc., check out the BrightCHAMPS Blog Page now!
Frequently Asked Questions (FAQs)
Yes, we can complete the scrolling background project without using the cloning concept by simply calculating, observing, and precisely placing the positions.
Variables are like containers that hold values, and they are changeable.
It’s the same as repeating and copying.