")
Science experiments for kids offer an exciting and engaging way to introduce young minds to the wonders of the natural world. These experiments go beyond the pages of textbooks, encouraging children to explore, question, and discover through hands-on activities.
They provide a platform for children to develop critical thinking skills, cultivate a sense of curiosity, and foster a love for science from an early age. In this modern age of technology and rapid advancements, it is essential to nurture scientific literacy and encourage children to become active participants in the scientific process.
By involving children in science experiments, we not only stimulate their intellectual growth but also empower them to become future problem solvers and innovators. In this article, we will explore the significance of science experiments for kids and delve into the many benefits they offer in shaping young minds.
Table of contents
List of 15 easy and fun experiments
As parents, it’s always a joy to spend quality time with our children, engaging them in activities that are not only entertaining but also educational. One fantastic way to accomplish this is by conducting simple science experiments right in the comfort of your own home.
These experiments not only nurture your child’s curiosity and critical thinking skills but also allow them to have a blast while learning. In this blog post, we have compiled a list of 15 easy and fun experiments that parents can do with their kids. Ignite curiosity with captivating activities for kids, delving into the realm of science through hands-on and fun experiments, fostering a love for discovery and learning from an early age. So, let’s dive in and explore the wonders of science together!
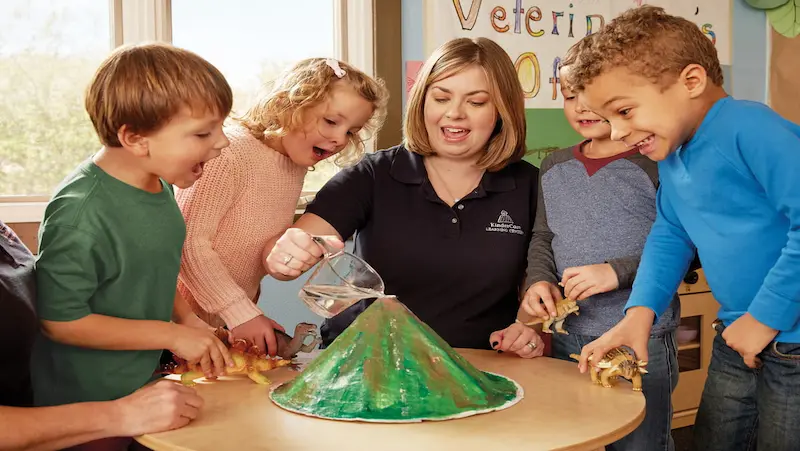
1. Volcano Eruption:
Create a miniature volcano using baking soda and vinegar. Watch in amazement as the chemical reaction causes a fizzy eruption. This experiment introduces children to the basics of chemical reactions.
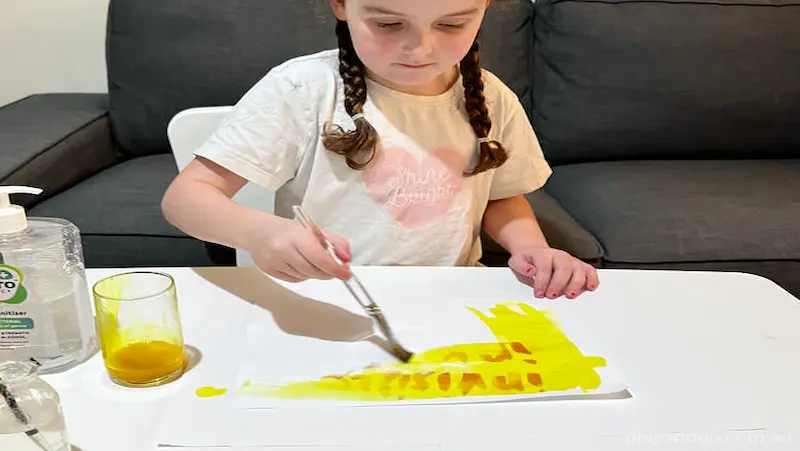
2. Invisible Ink:
Teach your kids how to write secret messages using invisible ink made from lemon juice. Once they’ve written their message, they can reveal it by holding it close to a heat source, such as a light bulb.
3. Dancing Raisins:
Place raisins in a glass of sparkling water and observe how they dance and float up and down. This experiment showcases the effect of carbon dioxide bubbles on objects.
4. Rainbow in a Glass:
Create colorful layers of sugar water or different liquids with varying densities to form a visually stunning rainbow in a glass. This experiment explores density and liquid properties.
5. Balloon Rockets:
Build a simple rocket using a balloon, a string, and a straw. Inflate the balloon, release it, and watch it zoom across the room. This activity demonstrates the
principles of thrust and propulsion.
6. Homemade Slime:
Mix glue, water, and borax to create a gooey and fascinating slime. Kids will love the process of making slime and exploring its unique properties.
7. Egg in a Bottle:
Challenge your child to put a hard-boiled egg into a glass bottle without touching it. By creating a pressure difference, you can achieve this seemingly impossible feat.
8. Magic Milk:
Add drops of food coloring to a plate of milk and then introduce a drop of dish soap. Watch as the colors magically swirl and mix together. This experiment demonstrates the concept of surface tension.
9. Baking Soda and Balloons:
Combine baking soda and vinegar in a bottle, then attach a balloon to the top. As the chemical reaction occurs, the gas produced will inflate the balloon.
10. Homemade Lava Lamp:
Using a clear container, oil, water, food coloring, and an Alka-Seltzer tablet, you can create a mesmerizing lava lamp effect. This experiment explores the concepts of density and immiscibility.
11. Static Electricity:
Rub a balloon against a piece of fabric and observe how it attracts small objects, such as pieces of paper or hair. This experiment helps kids understand the concept of static electricity.
12. Mentos and Soda Geyser:
Drop a few Mentos candies into a bottle of soda and witness a spectacular eruption of fizz. This experiment delves into the chemical reaction between the candies and the carbonated beverage.
13. DIY Rain Cloud:
Fill a glass jar with hot water, place a plate on top, and add ice cubes to the plate. Watch as a cloud forms inside the jar and rain begins to fall. This experiment introduces the water cycle.
14. Lemon Battery:
Make a simple battery using lemons, nails, and pennies. Connect multiple lemon batteries in series to power a small LED or a clock. This activity teaches kids about electricity and conductivity.
15. Invisible Glass:
Create a glass that appears to disappear by carefully arranging water, gelatin, and glass inside a container. This experiment explores the concept of refraction.
Check out coding games for kids.
Experiment 1: Volcano Eruption
In the realm of science experiments, few capture the imagination quite like a volcano eruption. Experiment 1 aims to provide a hands-on demonstration of volcanic activity, showcasing the fascinating power and processes that occur beneath Earth’s surface.
By creating a miniature volcano, participants will gain a deeper understanding of volcanic eruptions and the various materials involved.
Materials Needed:
1. An empty plastic bottle (such as a soda bottle)
2. Baking soda (sodium bicarbonate)
3. Vinegar (acetic acid)
4. Dish soap (optional)
5. Red food coloring (optional)
6. Small container or bowl
7. Funnel (optional)
8. Measuring spoons
9. Tissue or paper towels (for clean-up)
10. Protective eyewear (safety goggles)
11. A tray or basin (to catch any spills)
Step-by-Step Instructions:
1. Set up your experiment in a well-ventilated area, preferably outdoors or on a protected surface like a tray or basin. This will make clean-up easier and reduce the risk of any accidental spills.
2. Begin by preparing the volcano structure. Take an empty plastic bottle and remove the cap. If desired, you can also cut off the bottom of the bottle to create a wider opening.
3. Position the bottle in the center of your tray or basin, ensuring stability. If needed, you can secure it by using clay or playdough around the base.
4. Now it’s time to create the lava mixture. In a small container or bowl, mix 1-2 tablespoons of baking soda with a few drops of red food coloring. This will give the lava a more realistic appearance.
5. Place the funnel into the top opening of the plastic bottle. If you don’t have a funnel, you can carefully pour the mixture without it, but the funnel helps to control the flow and prevent spillage.
6. Slowly pour the baking soda mixture into the plastic bottle using the funnel. Make sure not to pour it all at once to avoid a premature reaction. Take your time and let it settle.
7. In a separate container, measure around 1/4 cup of vinegar. If you wish to create a foaming effect, you can add a few drops of dish soap to the vinegar and mix gently.
8. Pour the vinegar (and dish soap if using) into the plastic bottle containing the baking soda mixture. As the vinegar (acetic acid) reacts with the baking soda (sodium bicarbonate), a chemical reaction occurs, releasing carbon dioxide gas, which causes the eruption effect.
9. Watch in awe as the mixture starts to fizz and bubble, simulating the eruption of a volcano. The released carbon dioxide gas creates the effect of flowing lava.
Safety Precautions:
1. Wear protective eyewear, such as safety goggles, to protect your eyes from any potential splashes or spills.
2. Conduct the experiment in a well-ventilated area to avoid inhaling the carbon dioxide gas produced during the reaction.
3. Adult supervision is strongly recommended, especially when working with young children or if handling potentially hazardous materials.
4. Be cautious while handling vinegar, as it is an acid and can cause irritation. Avoid contact with eyes, skin, and clothing. If any accidental contact occurs, rinse the affected area immediately with water.
5. Clean up any spills promptly, especially on surfaces that may be sensitive to acid, such as marble or certain types of flooring.
Experiment 2: Invisible Ink
In this experiment, we will explore the fascinating world of invisible ink. The aim is to demonstrate how certain substances can be used to create invisible messages that become visible under specific conditions. This experiment is not only fun but also provides insights into the chemistry of invisible ink.
Materials needed:
1. Lemon juice or milk
2. Small paintbrush or cotton swabs
3. White paper
4. Candle or heat source (adult supervision required)
5. Toothpick or fountain pen
6. Lamp or light bulb
Step-by-step instructions:
1. Prepare the invisible ink
- Option 1: Lemon juice
a. Squeeze some fresh lemon juice into a small container.
b. Dilute the lemon juice with a small amount of water (1:1 ratio).
- Option 2: Milk
a. Pour a small amount of milk into a container.
2. Choose your writing instrument
Dip a small paintbrush or cotton swab into the prepared invisible ink. Alternatively, you can use a toothpick or a fountain pen to write with the invisible ink.
3. Write your message
Use the writing instrument to write a message or draw a picture on a piece of white paper. Ensure that the message is written clearly but lightly, as invisible ink tends to appear faint.
4. Let the ink dry
Allow the paper to dry completely. The invisible ink may require a few minutes to dry, depending on the substance used.
5. Reveal the message using heat
a. Light a candle or ask an adult to help you with a heat source like a lamp or light bulb.
b. Gently heat the paper by holding it near the flame or under the heat source. Be careful not to burn the paper.
c. As the heat is applied, the invisible ink will start to darken and become visible. Move the paper around to ensure the entire message is revealed.
d. Take note of the color change and the appearance of your hidden message.
Safety precautions:
1. Conduct this experiment under adult supervision, especially when using a heat source like a candle.
2. Be cautious while handling the flame or heat source to avoid burns or accidental fires.
3. Keep flammable materials away from the experiment area.
4. If using a candle, ensure it is placed on a stable surface and away from any flammable objects.
5. Use the flame or heat source responsibly and follow proper safety protocols.
Also, check out science kits for kids.
Conclusion
In conclusion, we highly encourage all readers to embark on the wonderful journey of trying out experiments with their kids. These hands-on activities have the power to ignite curiosity, spark creativity, and foster a deeper understanding of the world around us.
By engaging in these experiments together, parents and children can create lasting memories while simultaneously enhancing their cognitive and problem-solving skills.
Not only do these experiments provide valuable educational opportunities, but they also offer a chance for parents and children to bond and connect on a deeper level. Through shared experiences, families can strengthen their relationships and create a supportive and engaging environment for learning. Engage young minds with captivating science experiments for kids, sparking curiosity and fostering a love for learning.
Furthermore, by sharing your experiences in the comments section, you contribute to a vibrant community of parents and educators who are passionate about fostering a love for science, exploration, and discovery in children. Your insights, tips, and anecdotes can inspire others to try the experiments and provide them with guidance and encouragement.
Remember, science is not confined to laboratories and textbooks. It can be found in the everyday activities we undertake, and by engaging in these experiments with your children, you open up a world of wonder and possibility.
So go ahead, gather your materials, put on your lab coats (or aprons!), and embark on this exciting adventure with your kids. The experiences you create will be cherished by your family for years to come, and the knowledge and joy gained will last a lifetime.
Empower your child’s journey with BrightChamps – a leading EdTech company revolutionizing education for young minds.
Step into the world of knowledge and exploration on the BrightChamps blog page. Here, we invite you to embark on a journey of discovery, where each article is carefully crafted to ignite young minds with curiosity and enthusiasm for learning. Our team of passionate educators and experts are dedicated to providing you with a diverse range of insightful content, from educational trends and innovative teaching methods to interactive experiments and engaging activities that are designed to captivate and inspire children of all ages. Join us in this adventure of growth and enlightenment as we share valuable resources and ideas to support the holistic development of your child.
Frequently Asked Questions
A1: You can try the following easy science experiments with your kids at home:
1. Making a volcano using baking soda and vinegar.
2. Creating a homemade lava lamp using oil, water, and food coloring.
3. Conducting a simple density experiment with different liquids.
4. Exploring static electricity by rubbing a balloon on your hair.
5. Building a simple circuit using batteries and wires.
A2: Science experiments can benefit your child’s learning and development in several ways. They promote critical thinking, problem-solving skills, and creativity. Science experiments also foster a sense of curiosity and discovery, encourage hands-on learning, and improve their understanding of scientific concepts
A3: Yes, science experiments can be messy at times. To prepare for that, consider the following steps:
1. Choose an appropriate area for conducting the experiment, like a table covered with newspaper or a designated workspace.
2. Gather all the necessary materials and equipment beforehand.
3. Have a set of old clothes or lab aprons to protect clothing.
4. Keep cleaning supplies handy, such as towels, wipes, and a sink with running water.
A4: Yes, it’s essential to take safety precautions before starting a science experiment with your kids. Some key precautions include:
1. Read and follow all instructions carefully.
2. Wear appropriate safety gear like goggles, gloves, and aprons if necessary.
3. Use child-friendly materials and non-toxic substances.
4. Keep experiments away from flames, heat sources, or electrical outlets.
5. Supervise your kids closely during the experiment.
A5: You can modify science experiments to suit different age groups or learning levels by adjusting the complexity or adding variations. For younger children, focus on simple and sensory-based experiments. For older children, you can introduce more complex concepts, encourage them to ask questions and conduct further research to deepen their understanding.