In Minecraft, a smithing table has two purposes: it upgrades gear from diamond to netherite and it serves as a worksite block for the toolsmith. Toolsmiths are helpful because they can turn materials mined from the ground into emeralds and give out diamond axes, pickaxes, and shovels that have been enchanted. The smithing table is necessary to upgrade a tool to netherite, the highest possible tier in the game.
In Minecraft, How Does a Smithing Table Work?
By putting a smithing table close to a villager who isn’t yet assigned a profession or whose profession hasn’t been locked in, you can give them the toolsmith profession. This librarian’s occupation is not locked in, so I may replace it with the toolsmith.
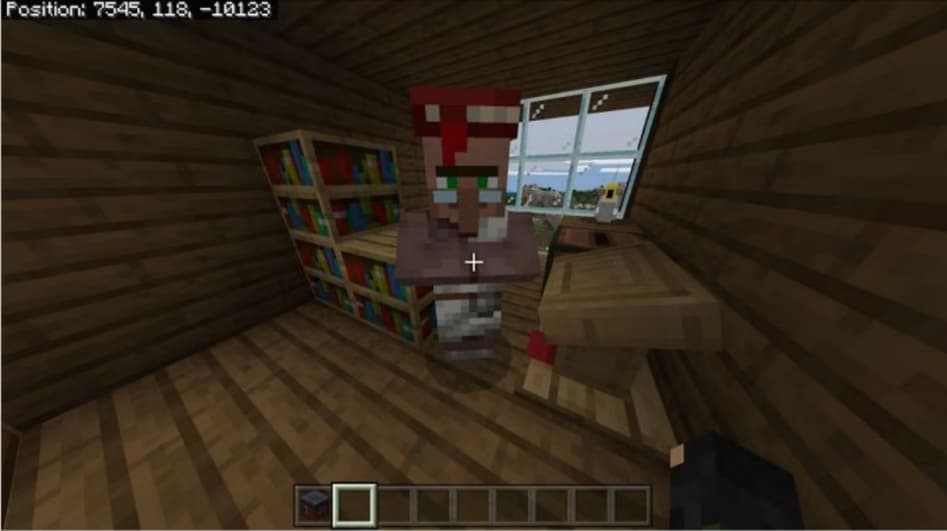
Replace its current job-site block with a smithing table. After a few moments, the villager will emit green particles and change their profession.
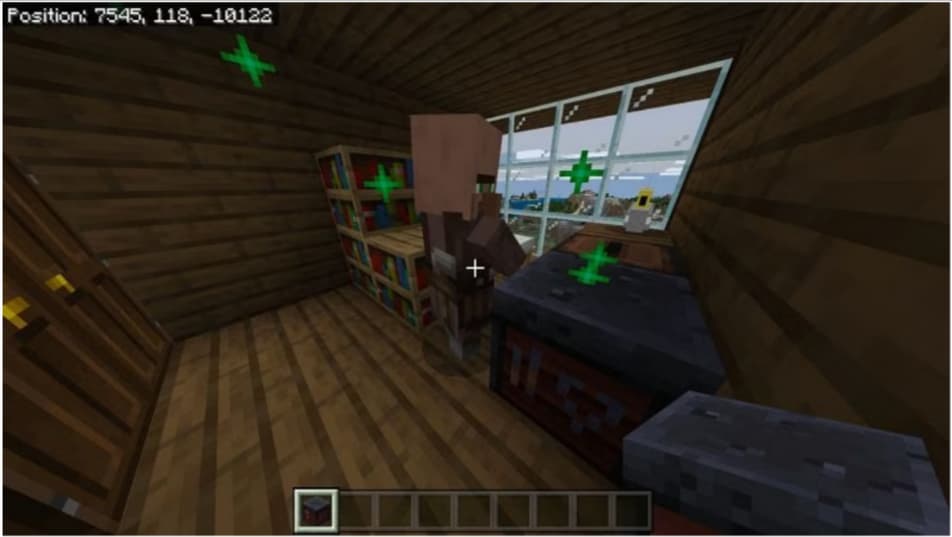
Before doing this, make sure the villager has a bed nearby; many people will only seek occupations if they have claimed a bed.
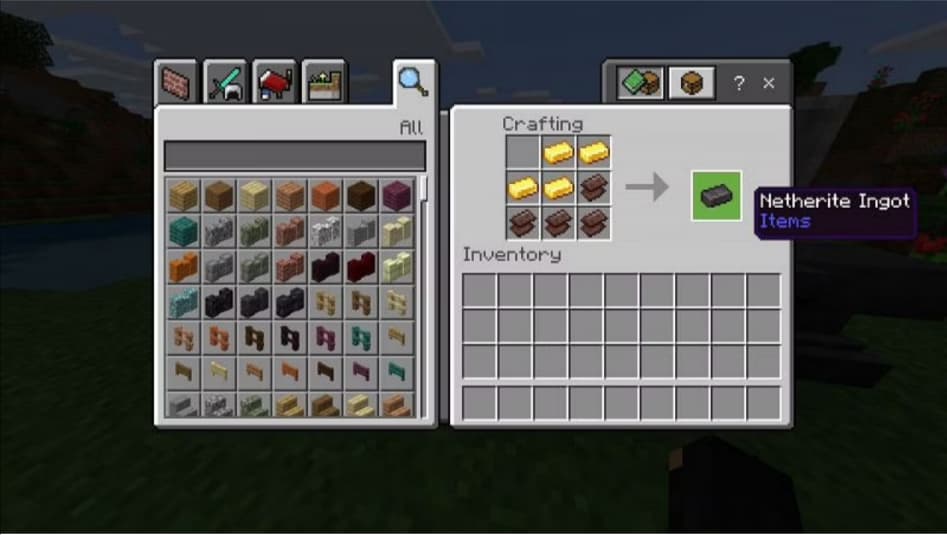
A netherite ingot is required to convert diamond gear to netherite. Collect old nether trash and process it into netherite scraps to produce netherite ingots. It’s hard to find ancient debris, and the Fortune enchantment doesn’t change your drop rates much. Layers 8 to 22 contain a variety of dated debris. The most frequent location for it is Layer 15.
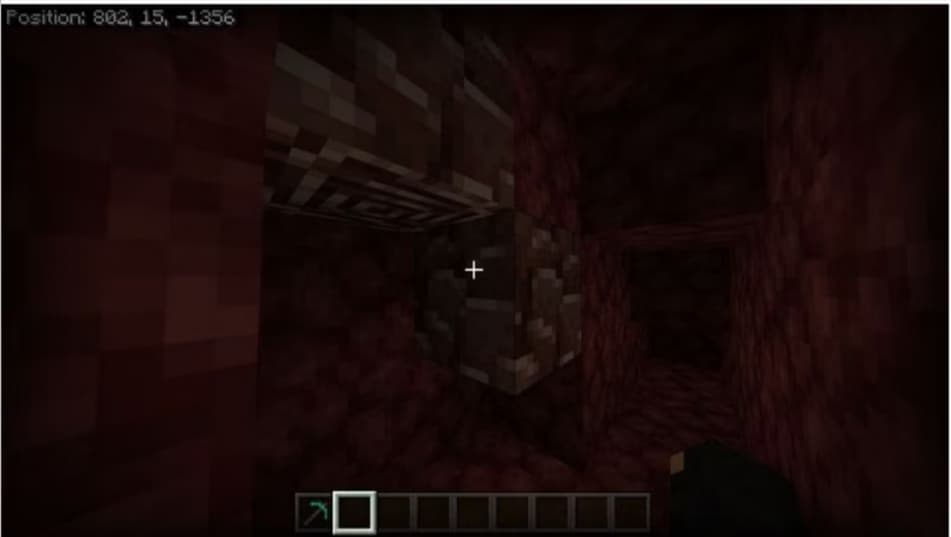
Smelt them in a furnace, and then combine four netherite scraps with four gold ingots to make a netherite ingot.
Take your diamond gear to a smithing bench to convert it to netherite. To access the UI, right-click the smithing table. Place the diamond tool or armor to be upgraded in the left slot and the netherite ingot in the right.
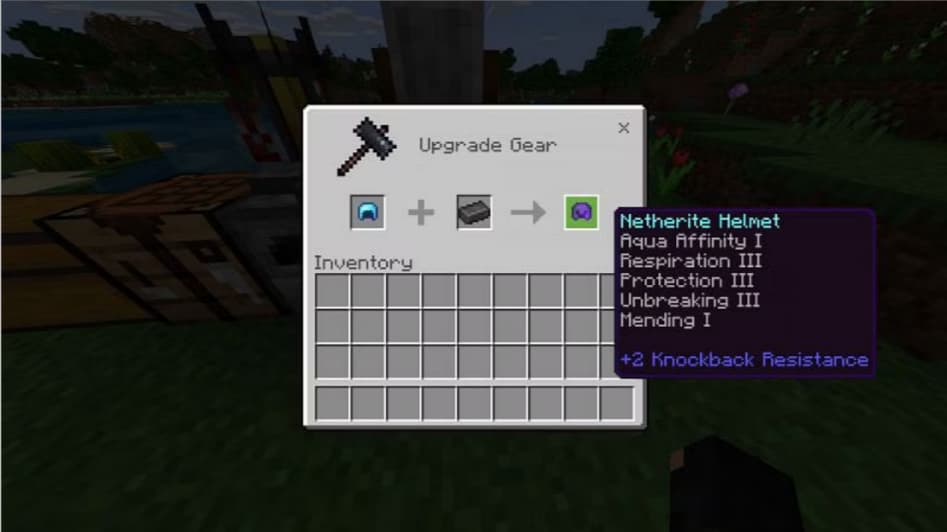
As you can see, the helmet retains its enchantments and transforms into a netherite helmet. This provides better defence than a diamond helmet while also offering knockback resistance.
In Survival Mode, how do you make a Smithing Table?
This Minecraft guide includes images and step-by-step directions for making a smithing table.
- Launch the Crafting Menu.
First, arrange your crafting table such that it has a 3×3 crafting grid like this:
- Make a Smithing Table by combining items.
You should see a crafting area with a 3×3 crafting grid in the crafting menu. Place two iron ingots and four wood planks on the 3×3 crafting grid to build a smithing table.
You may construct with any type of wood plank, such as oak, spruce, birch, jungle, acacia, dark oak, red, or warped boards. In this example, we’ll use oak planks.
When building a smithing bench, it’s important that the iron ingots and wood boards are set up exactly as shown below. There should be one iron ingot in the first slot and three wood boards in the remaining slots. This hands-on process not only imparts valuable crafting skills but also doubles as an interactive activities for kids, turning the learning experience into an enjoyable and educational endeavor within the Minecraft realm.
box and one iron ingot in the second box in the first row. In the third row, 1 wood plank should be in the first box, and 1 wood plank should be in the second box. This is how you make a smithing table in Minecraft.
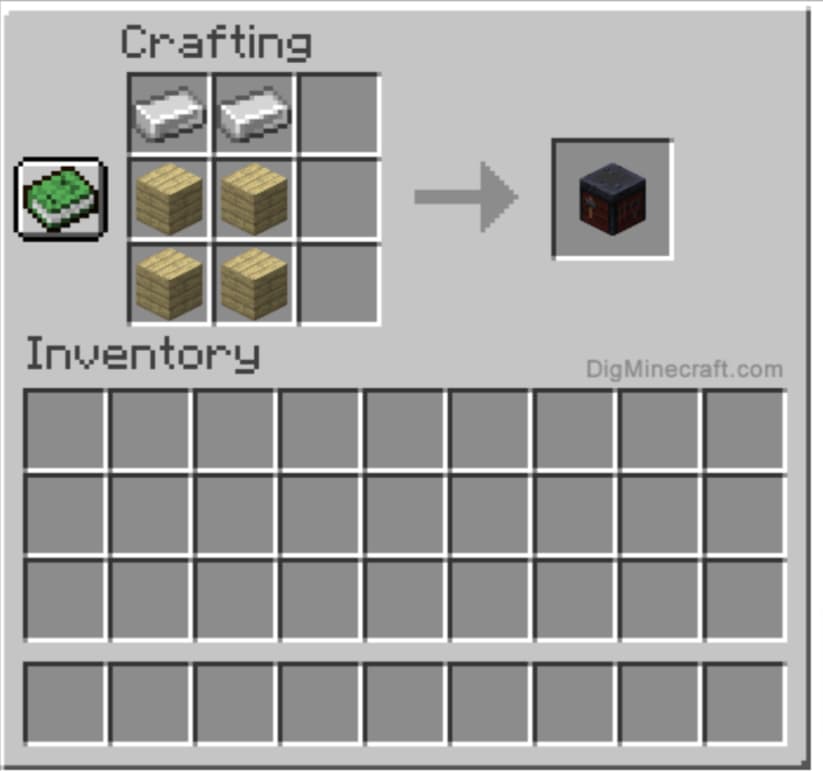
The smithing table will appear in the box to the right once you have filled the crafting space with the relevant pattern.
- Add the smithing table to the inventory.
After creating a smithing bench, you must add the new object to your inventory.
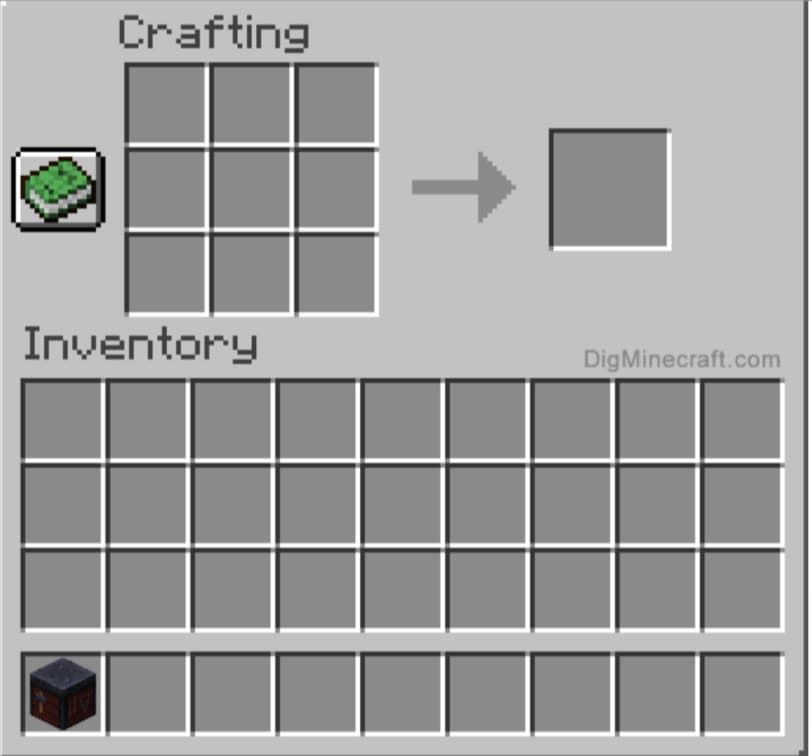
You have successfully created a smithing table in Minecraft!
Minecraft Coding for Kids is an innovative approach to children’s education, integrating coding skills seamlessly into the popular Minecraft platform.
Conclusion
A smithing table in Minecraft serves as both a work area for the toolsmith and an upgrade from diamond to netherite for gear. You can easily create and use a smithing table in Minecraft by using the above steps and information. To learn more about smithing tables and Minecraft, read the most recent blogs on the BrightCHAMPS blog page.
Elevate your child’s learning journey with BrightChamps, the leading EdTech company offering a transformative blend of robotics, financial education, and coding courses.
To get your hands on more such articles, educational content, and free resources on coding for kids, robotics courses for kids, game development, etc., check out the BrightCHAMPS Blog Page now!
Frequently Asked Questions(FAQs)
Smithing tables can only create one sort of object. It is the only crafting station with these restrictions. The tools on the smithing table are not available in the game.
Unlike anvils, using a Smithing Table to repair an item’s durability does not raise the preceding work penalty; therefore, objects may be mended indefinitely with sufficient material.
Villagers can also become toolsmiths with the help of smithing tables. This opens up a lot of trade options, like buying strong tools or selling coal and flint.
Smithing tables are not lava or fire-resistant, as a dropped object will be burned up, but once in place, the smithing table will not burn in lava or fire.
If the villager has been traded with, their occupation is fixed, and they cannot change it. If an unassigned villager has not claimed a bed, they will search neighboring job-site blocks. It will take time for them to create that area as a new village if they are the first villagers in that region (you treated a zombie villager who wasn’t near a village). They will search for a bed and then a career once they have established that location as a community. It is impossible to designate a career for a nitwit villager.

