
📅 Published: November 9, 2022 🔄 Updated: December 18, 2023
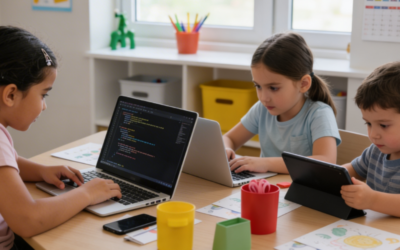
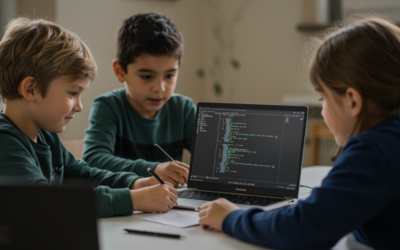
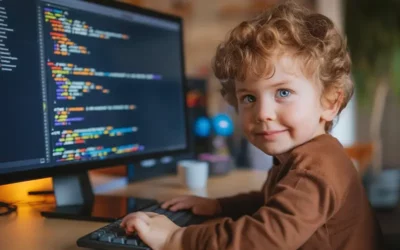
Over 200 million copies of Minecraft have been sold globally. Kids and adults all around the world are mining, creating, and Minecraft-ing together in multiplayer worlds. When constructing together online, gamers develop social skills, problem-solving abilities, and creativity. Minecraft is beneficial in so many ways that it’s remarkable.
On a public internet server, people may collaborate to construct bigger and better things than they could alone, but you have no control over who connects to the public servers and, as a result, who your child interacts with online. Excellent news! Setting up your own server allows you to see who is connected to and playing in your child’s world.
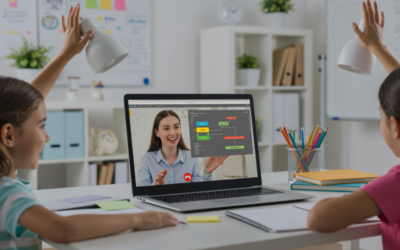
We’ve put together some instructions to help you get started hosting your own Minecraft server for your students. These were designed with the same learning management system that kids use at camp, ID Game Plan.
Warning:(Parental Guidance needed)
Before you do any of this at home, keep in mind that these instructions are intended for parents who are assisting their children. So, kids have to ask their parents for permission and pick a time when they can watch and help. Anyone with your external IP address will be able to join your server and play in your Minecraft world if you set up and maintain an online server. Consider carefully who you invite to play on your server!
Keep track of people you and your child invite to play on your server. Only inviting users you know in real life is the best way to keep your server secure and pleasant. There are many good individuals on the internet, but by restricting your server to people you’ve met, you won’t be surprised by who your children meet.
How to Create a Minecraft Server?
- Verify that you have the most recent version of Java.
The first step is to make sure you have the most recent Java version installed because Minecraft is a Java-based game. You can download Java from here if you don’t already have it.
Need assistance with troubleshooting? Refer to the Minecraft Wiki page on setting up an internet server. PLEASE NOTE: Some server difficulties necessitate altering basic computer settings. If you do this incorrectly, you risk damaging your computer.
- Download the Minecraft Server.jar file.
The server files will be required next. These are available for free from the official Minecraft website:
- Download the Minecraft server. 1.11.jar from the Minecraft Server Downloads page.
- Once the download is complete, copy the Minecraft server. 1.11.jar to your desktop and rename it “Minecraft Server.”
- To launch it, double-click the Minecraft server. 1.11.jar.
Along with it, several additional files will emerge in the folder.
Note: Minecraft will eventually be upgraded to a new version; thus, “1.11,” the version when these instructions were created, will be referring to an older download. The instructions above and below should still apply, but be aware that “1.11” will be changed with the new version number.
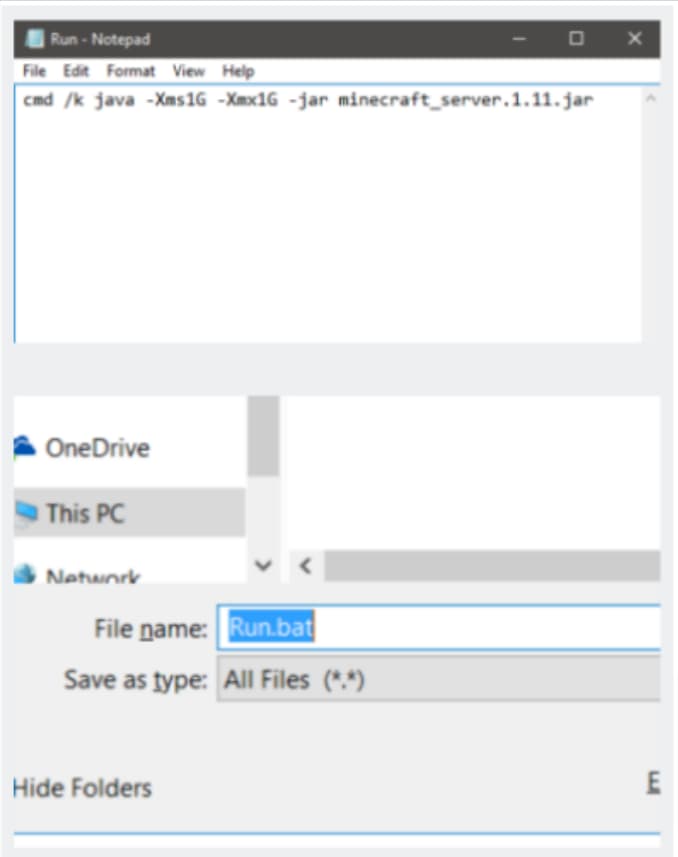
- Create a batch file to run the server.
- Right-click the Minecraft server. 1.11.jar file in the server folder.
- Go to File > New > Text Document.
- Call the new file “Run.”
- Insert the following line into the Notepad document:
1 cmd /k Java ‐Xms1G ‐Xmx1G ‐jar minecraft_server.1.11.jar
Important: If you’re running a different version of the server, replace “Minecraft server.1.11.jar” with the version name.
Now, use “Save As” to save the file as a batch file. A batch file is a file that Windows uses to run command-line operations.
- Navigate to “File” > “Save As.”
- In the “Save as Type” section, select “All Files.”
- Rename the file “Run.bat.”
Make sure to remove the.txt extension from the filename.
- Accept the EULA
Before you may establish a Minecraft server, you must agree to a licencing agreement. To express your agreement, you must update the file eula.txt.
- Double-click the eula.txt file.
You can look at the EULA here or copy and paste the text from the file.
- Replace eula=false with eula=true.

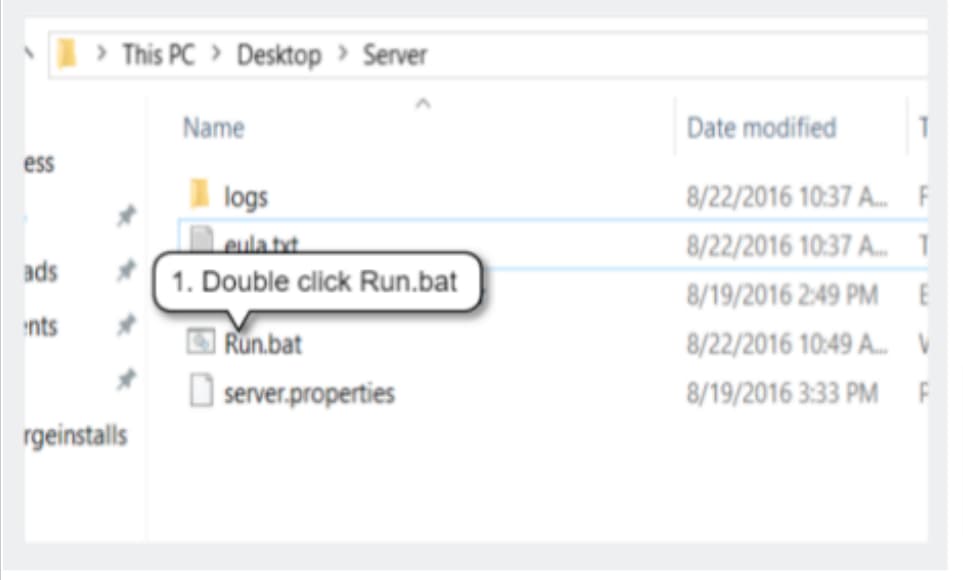
- Start Up Your Server
You are now ready to start your server!
When you double-click “Run.bat,” your server will start.
A window will pop up with information about your server. As long as you keep this window active, your server will be operational, and gamers will be able to join!
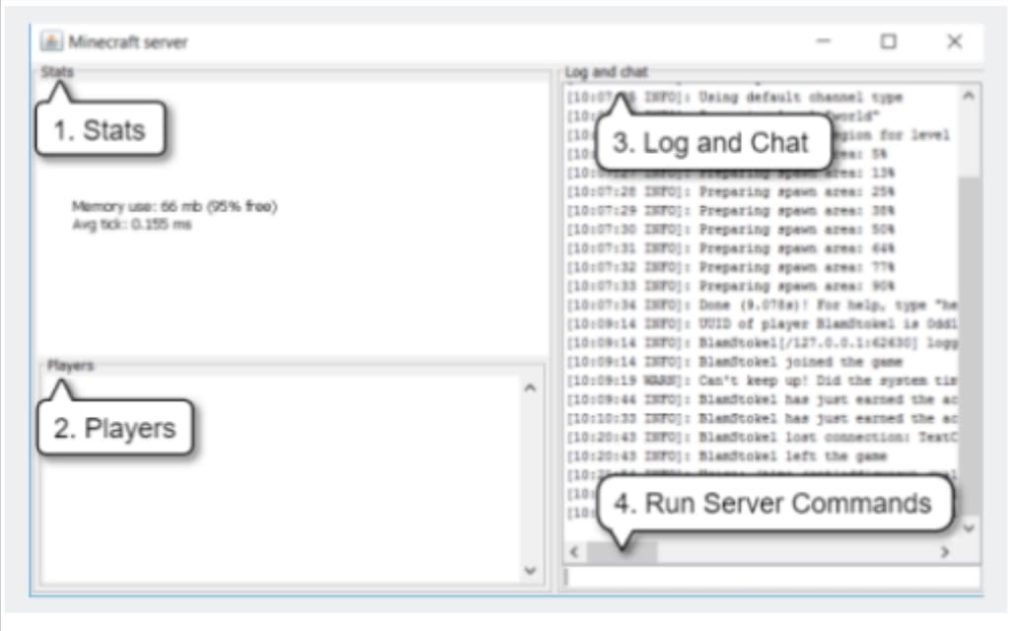
The Server View
Even if you’re not in-game, your server gives you some information to help you keep track of what’s going on.
- In the Stats tab, you can see how much RAM the server is using.
- On the Players tab, you can see who is connected to the server at the moment.
- The Log and Chat window displays server messages and player discussions.
- Enter server instructions in the area on the bottom right.
Server commands provide sophisticated users with greater control over their servers. A list of all potential commands may be found here.
- Connect to Your Server
It’s now time to connect to your Minecraft server!
- Start Minecraft.
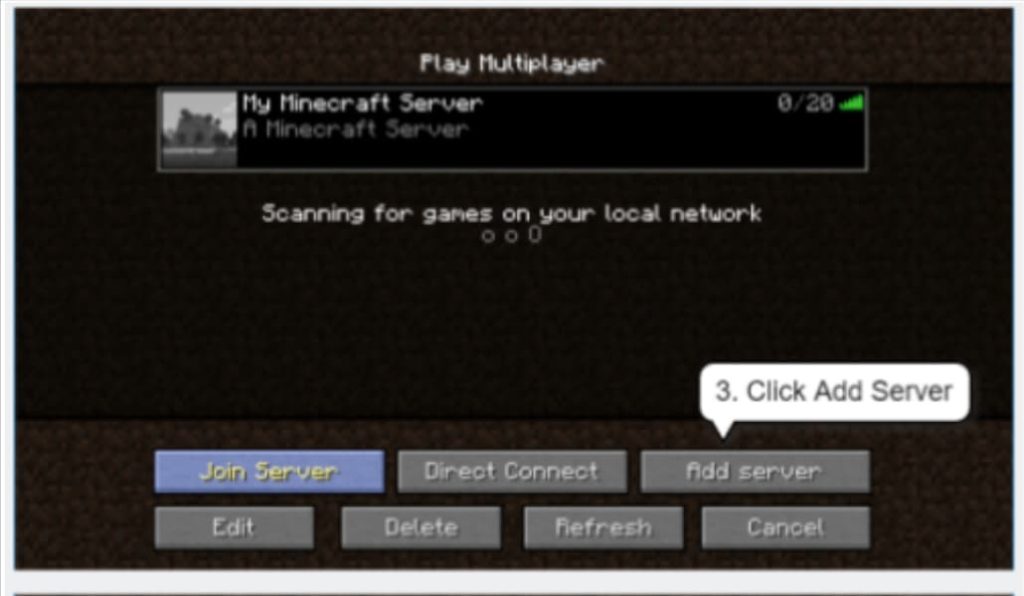
- Select “Multiplayer” from the main menu.
- Choose “Add Server.”
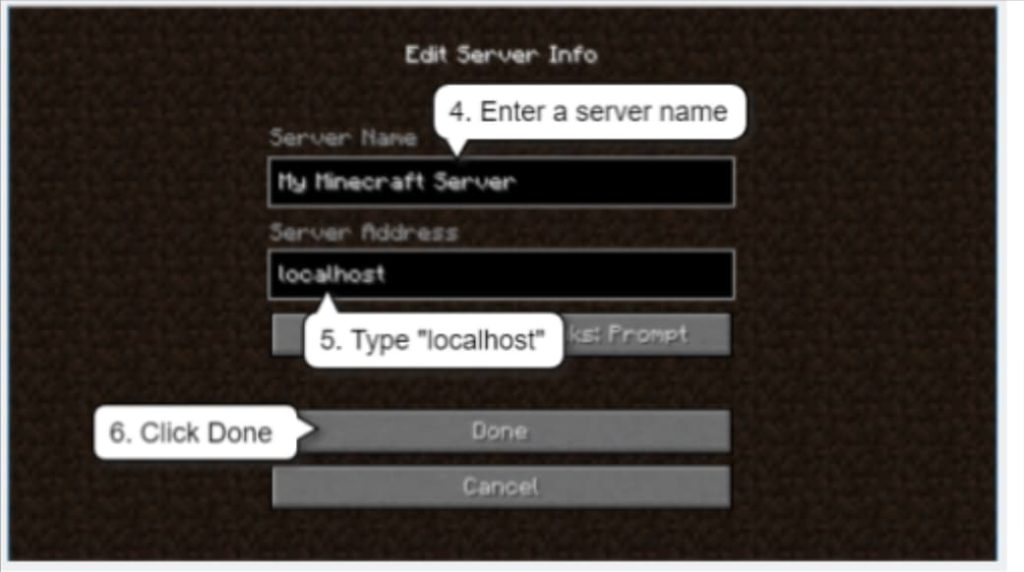
- Fill in the “Server Name” area with the name of your server.
- In the “Server Address” column, type “localhost.”
- Press the “Done” button.
- Choose your server and press the “Join Server” button.
You should be able to play on your own server now. Following that, we’ll configure the internet connection so that other players may connect to it.
- Port Forwarding
The next step in the procedure is to configure your router so that other people may access your computer through it. Because it is dependent on the type of router you have, this method will be unique to you.
- Refer to portforward.com for some basic information about port forwarding before you begin.
- Choose the make and model of your router and follow the instructions.
Is your router not included in the list? Here are a few things to try if your router isn’t listed on that website:
If you know the manufacturer but not the model:
Follow the guidelines to discover the closest model number to yours that you can find. They are frequently comparable procedures.
Look up your router’s model and “port forwarding” on the internet.
Contact your router’s customer service and inquire about port forwarding.
- Locate Your External IP Address
After you’ve forwarded your ports, you’ll need to determine your external IP address.
- Launch a browser and navigate to google.com.
- In the search field, type “external ip” and hit “Enter” or “Return.”
- Google will provide you with your external IP address.
Your external IP address will be either IPv4 or IPv6, and will look something like this:
IPv4 address example: 12.34.456.789
IPv6 address example: 2001:0db8:0a0b:12f0:0000:0000:0000:0001
Save your external IP address when you discover it—you’ll need it for other people to connect to your server.
- Log in to Your Server
Now that you have port-forwarded it, other players can use your external IP address to connect to your connection. Follow the procedures below to have players join your server:
- In Minecraft, go to the “Multiplayer” tab.
- Choose “Add Server.”
- Type in a server name.
- Type in the server’s IP address.
This is your external IP address, followed by the port number: 25565. This will resemble the address shown in the figure on the right.
If you have an IPv6 address, encapsulate it in [] characters, as seen below: [2001:0db8:0a0b:12f0:0000:0000:0000:0001]:25565
- Click the Done button. Minecraft will now attempt to connect to the server. Select the server and click “Join Server” once connected.
Inviting Players to Join: Anyone who has your external IP address can play on your Minecraft server. Make certain that anyone you ask to play is trustworthy. It’s best to invite just individuals you know. Before inviting new players, consult with your parents.
- Modify the server.properties file
You may also change several game parameters by using the Server.properties file in the Server subdirectory.
Open the file in any text editor and adjust the lines to change the characteristics of your Minecraft environment.
The most typical characteristics to modify are:
Change gamemode=0 to gamemode=1 to set your server in creative mode. maxplayers=20: adjust this value to raise or lower the number of players who can connect to your server at the same time.
The Minecraft Wiki has a reference for all of the available settings.
Editing Server Properties: You will not need to make any changes to this file in order for your server to function. Make no modifications to the file until you are certain of what you are doing.
All done! Never forget to ask your parents for permission before attempting to set up an internet server! To let people connect to your server, you must use port forwarding and download the server software from Minecraft.
Try It! Remember that you may double-check the steps and obtain additional information on setting up servers here.
After you’ve followed these steps, you’ll have your own server where you, your children, and their friends may play Minecraft together! You can tell anyone you know about your connections and encourage them to work together and grow in your environment.
Conclusion
That’s it! Remember to always get permission from your parents before attempting to build up an internet server! Importantly, you need to download the Minecraft server software and use port forwarding to let other people connect to your server.
Try It! Remember that you may double-check the steps and obtain additional information on setting up servers here.
After you’ve followed these steps, you’ll have your own server where you, your children, and their friends may play Minecraft together! You can tell anyone you know about your connections and encourage them to work together and grow in your environment.
When you do set up a server, be sure to check in every now and then to see what the participants are up to; you’d be shocked at how much kids can achieve when they work together.
Don’t forget that you can further your child’s skills with our new online private lesson, “Minecraft Server Development,” in which kids can learn to host a Minecraft server, publish maps, and build planning and design abilities. Also, make sure to check out any of our wildly successful Minecraft summer programmes, which are offered on-site at top colleges throughout the country. To learn more about Minecraft, check out the latest blogs on the BrightCHAMPS blog page.
To get your hands on more such articles, educational content, and free resources on coding classes for kids, online robotics classes for kids, game development, etc., check out the BrightCHAMPS Page now!