Minecraft is no longer merely a building game but has now become a famous medium to bring out the perfect designing personality in a gamer. No matter how good a player you are, Minecraft challenges you to build and customize your own worlds.
Among all virtual world creations, the formation of Minecraft bridges can be found. The explorations in the various arenas of Minecraft can be easily assisted with Minecraft bridges. Minecraft bridges add an aesthetic look to the gaming environment, whether they connect different lands or go from one shore to the other.
Step-by-Step procedure:
The Minecraft Bridge can be built in a very simple manner by following 5 simple steps.
STEP1: STARTING PHASE
Quantify your material
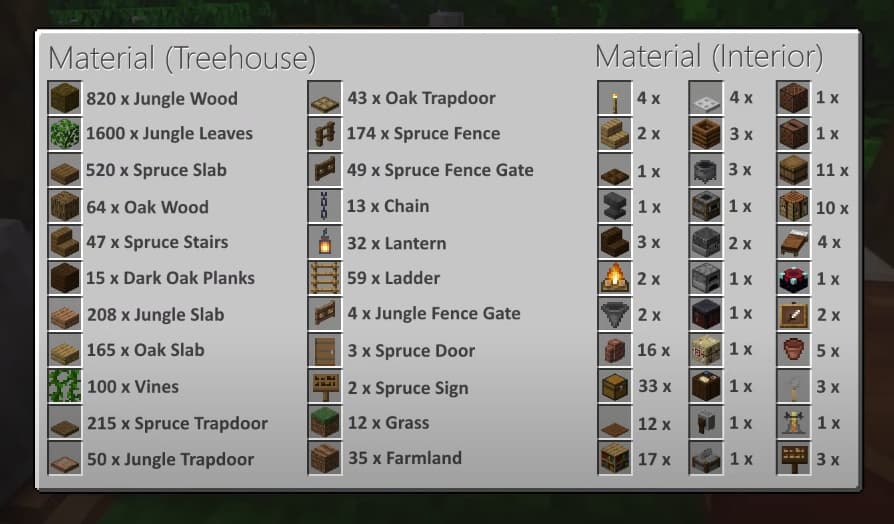
The material that we, as users, want to incorporate depends on our needs. For instance, materials can be taken as a quantity defined as below:
Spruce fence – X10
Spruce wood stairs – X20
As mentioned above, 10 pieces of the spruce fence are taken, and 20 pieces of spruce wood stairs are taken.
Start by building a pillar-like structure above the water. The number of space counts among individual blocks should be taken into consideration. Engaging in this activities for kids involves not just placing blocks but also considering the spatial relationships among them. Make sure to look from the side to get a good understanding of the Minecraft bridge structure’s basic layout.
STEP2: BEAUTIFICATION OF BASE
Judicious Use of Material
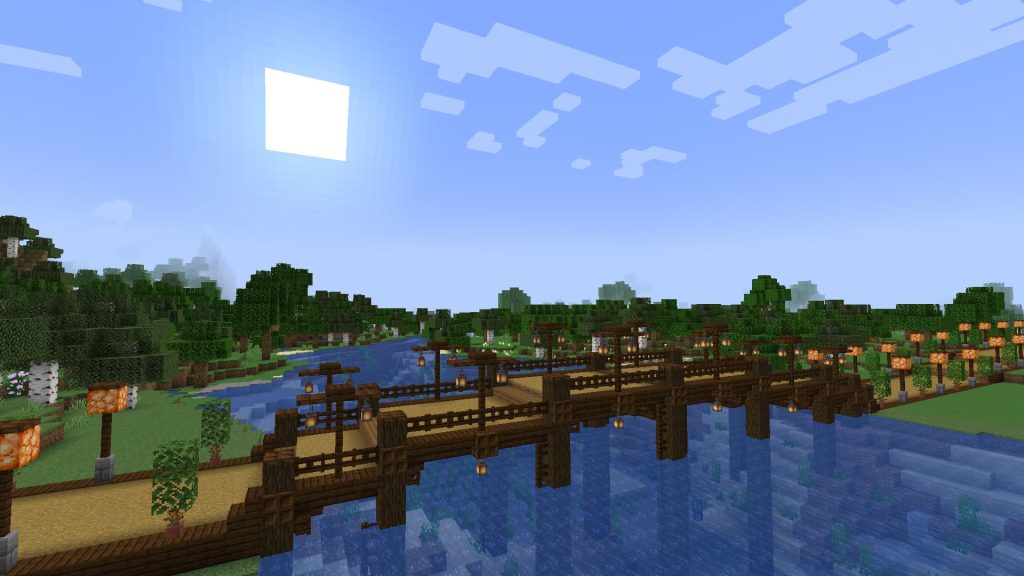
In this second phase of Minecraft bridge building, let’s get started by creating the bridge base. It is highly recommended to use oak wood or oak leaves for the beautification of the base of the Minecraft bridge. Keep the Minecraft bridge base a little higher than the water level. Make judicious use of wooden trapdoors wherever possible, as the trapdoors will add beauty to our Minecraft bridge.
STEP3: MAKE FILLERS
Avoid vacant spaces
Use different kinds of slabs to achieve the third step of Minecraft bridge building. One of the most common slabs that can be used to fill the empty spaces on the floor is a stone slab. Not only this, we can extend our creativity by building a staircase-like structure over our bridge with the help of fixing the slabs together.
STEP4: FENCING
Provide Sidewalls
Use a stone brick wall to build the railing of your bridge. Add a fence gate or a spruce fence to create the sides of the Minecraft bridge. It allows the bridge to define its boundary or lane of movement. If we don’t add a fence, then our Minecraft Bridge might not look great. Here, a spruce fence gate is the better option to go for.
STEP 5: ROOF AND LIGHTNING
Provide Shelter
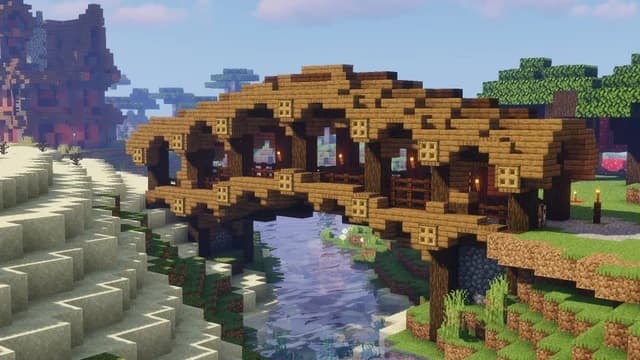
To form the ceiling for your bridge, you can use spruce stairs, spruce trapdoors, or a combination of the two. It will give the Minecraft bridge an ancient look. One can easily add more details by adding another deep slate tile and pairing it with a spruce trapdoor to make the bridge look wonderful.
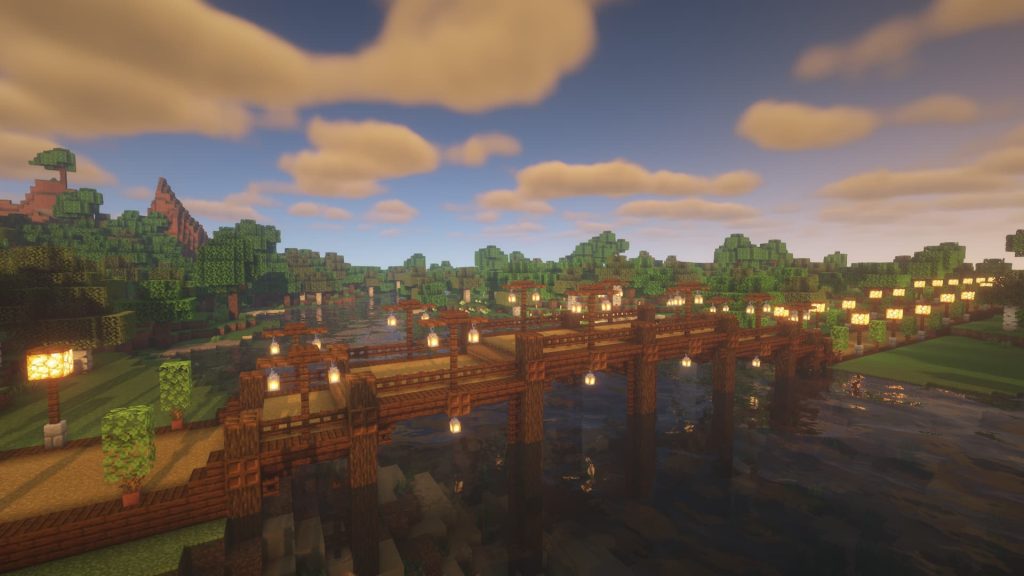
Moreover, lightning over the bridge can be achieved by hanging a chain along with a lantern. Another option is to simply place a campfire on the bridge as a source of light for your creation.
Conclusion
The Minecraft Bridge is not only built with the help of joining different slabs together, but one could easily decorate it and fit other materials together. It began with the design of a base and progressed to covering the roof of a bridge. Finally, a couple of lanterns or a burning campfire could easily be added to give the Minecraft Bridge an ancient appearance. Moreover, the story does not stop here; a tool shovel can prove to be very helpful as far as the building of the bridge is concerned. To learn more about bridges in Minecraft, check out the latest blogs on the BrightCHMAPS blog page.
Elevate your child’s learning journey with BrightChamps, the leading EdTech company offering a transformative blend of robotics, financial education, and coding courses.
To get your hands on more such articles, educational content, and free resources on computer games for kids, robotics club for kids, game development, etc., check out the BrightCHAMPS Blog Page now!
Frequently Asked Questions(FAQs)
No, it depends on the length of the bridge. A long bridge will consume more time.
Bridges made on the plains using jungle wood and vines can beat the look of normal bridges that are usually built across rivers.

