
📅 Published: February 15, 2022 🔄 Updated: February 2, 2026
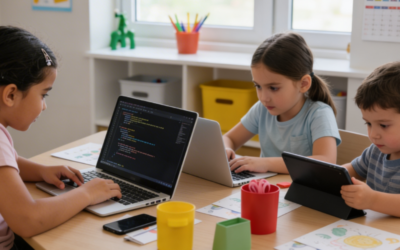
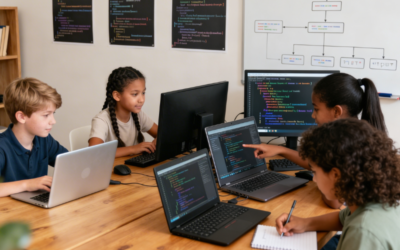
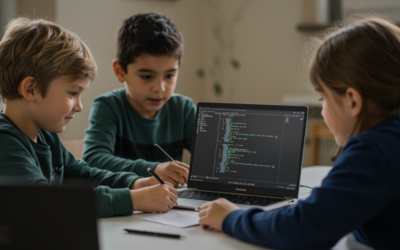
Scratch is a free coding platform with a fun learning approach for kids and adults alike, where anyone can discover their inner talents by creating creative and interactive art projects, games, digital stories, and even animations.
It also functions as a social media app, allowing users to follow others, upload content, and also view and like each other’s projects.
Scratch users can use amazing sprites, costumes, and background images to create any type of visual story with a large collection of built-in visual assets.
Scratch employs a block-based coding technique in which the children can pull code blocks from a drawer and place them in a coding area.
The step-by-step instructions for completing any task are provided by stacking these blocks in a sequential order one by one, similar to how puzzle blocks are attached.
Scratch provides a colorful environment for kids or even beginners to code in, resulting in a more simple and robust programming language than others.
There are different color categories of blocks that control the movement, appearance, and sound of the project that you create.
There is also a stage area where you can test our creation by directly clicking on a green flag to see the output.
Table of contents
Now, how do you change the location of a user?
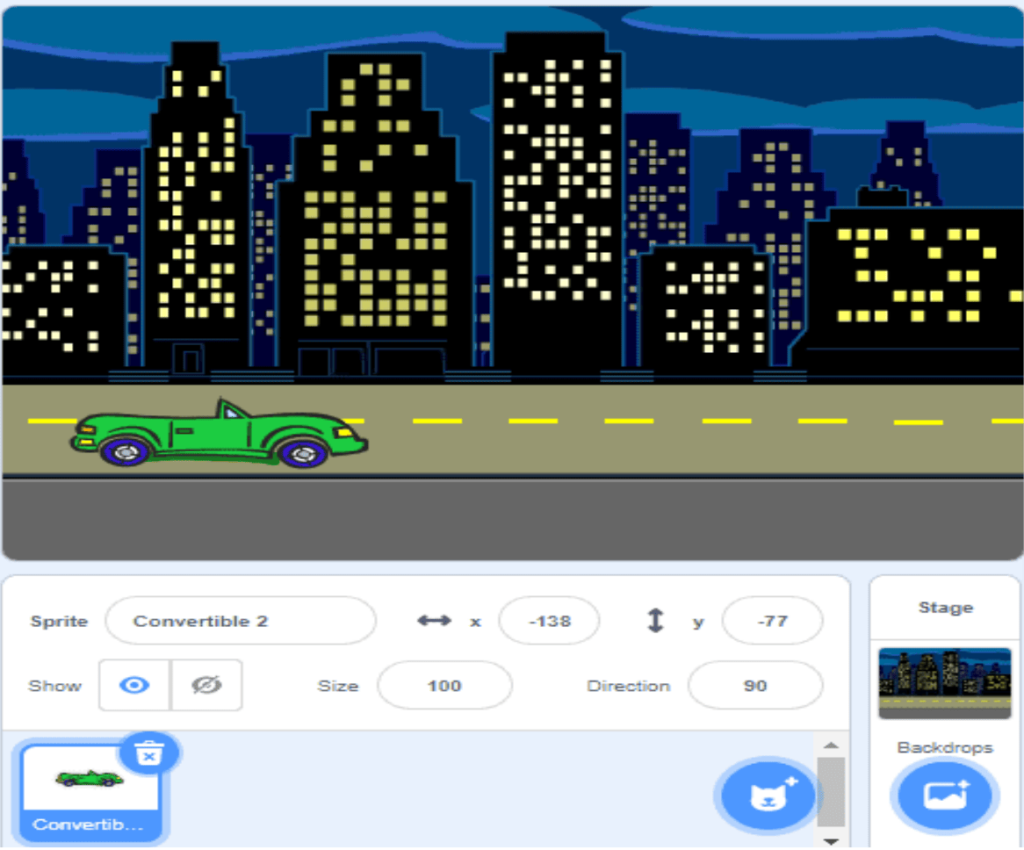
A user can interact with the animations or stories by becoming characters in the game or story; the characters you choose are known as sprites. These sprites are movable around the stage, you can change their location to move them around.
Scratch uses the two coordinate systems (x,y), x-coordinate and y-coordinate, to determine the location of a sprite on the stage, similar to those in mathematics.
The horizontal location of the sprite is determined by the x-coordinate value and the vertical location by the y-coordinate value.
Every Scratch project, whether a game, story or animation, will always display the x and y grid values down to the stage to determine where sprites are located.
Let us learn how to change stripe locations with the x and y-axis step-by-step
Perform the following steps to change the location of your stripe:
- To create a game, open a scratch platform, log in, and click on create.
- Give your stage a background that matches your imagination by selecting the option to choose a backdrop on the bottom right side
- Select your character by clicking on the “choose a sprite” option similar to the backdrop on the bottom right side.
- To move or change the location of a sprite, click on it at the bottom of the stage called sprite pane.
- You will now land in the coding area of the sprite you selected, in the middle of the screen.
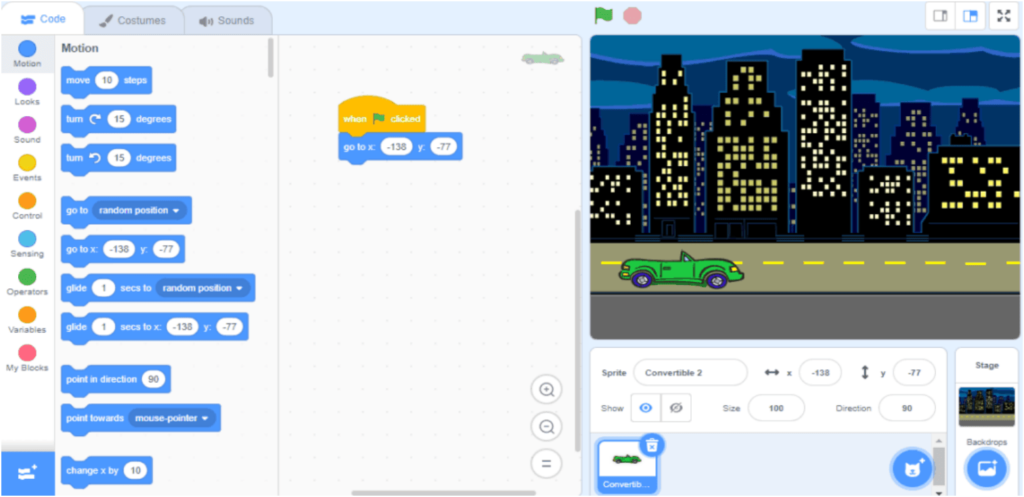
- Click on the orange round button ‘Events’
- Drag a ‘When Flag Clicked block’ code and drop it anywhere in the Script Area.
- To change the movement of your sprite, click on the round “motion” button on the left side again.
- Drag and drop the “go to x: y: ” coordinate block onto the coding area, then attach it to the “when green flag clicked” code.
- When the flag is pressed, this code will move your sprite to the default location value of x and y shown in the sprite pane.
Let’s now take a look at how to move to the left and right using the arrow keys:
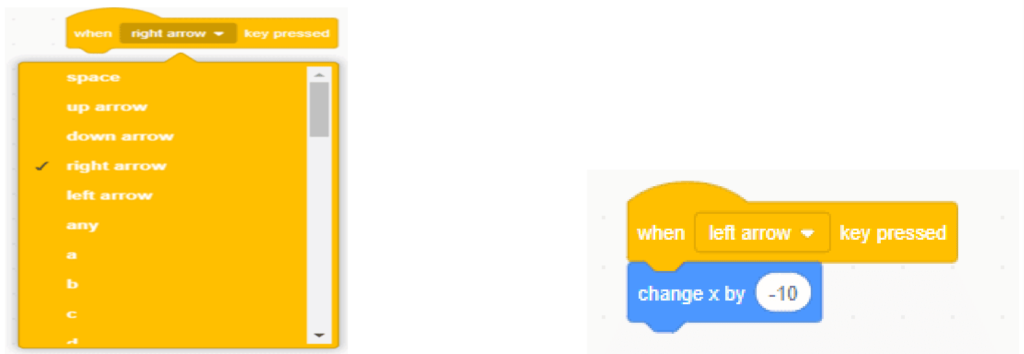
- Click on the events category in the block palette to the left and select the block “when space key pressed”. Drag and drop it into the coding area.
- Select “right arrow key” instead of “space” from the drop-down list.
- Select the code “change x by ” by clicking on motion.
- Attach the code block by dragging it beneath “when right arrow pressed.”
- If you change the value of x to 10, your sprite will move 10 steps to the right side of the stage.
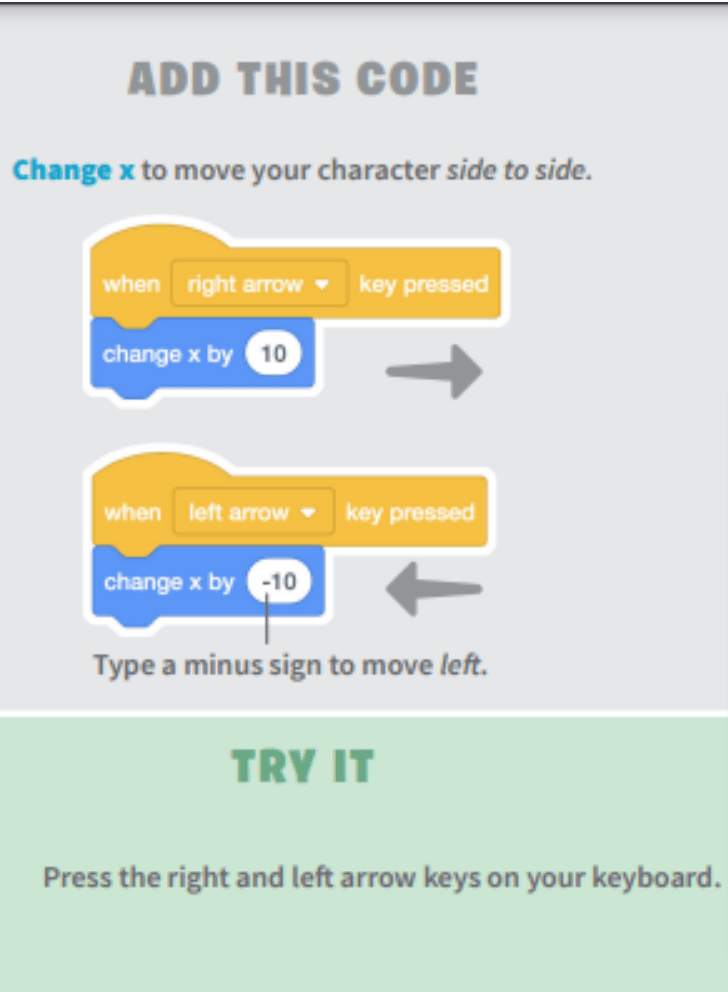
Note: Only by pressing the arrow keys will the sprite move to the left and right.
- You may have noticed that the x coordinate becomes negative as it moves to the left side of your stage. This is due to the decrease in the value of the coordinates through the left side as they move away from the origin 0, which always results in a negative number.
- Similarly, when the sprite moves upward, the code change y: is used, and the value of y is negative when we want to move up and positive when we want to move down vertically.
- You could duplicate the code blocks by right-clicking your mouse and moving your sprite with the up and down arrow keys.
- Click on the link below to see a small tutorial on how to move the sprites in all possible X- and Y-axis positions:
Conclusion
In this blog, we learned how to use the x and y coordinates to move the sprites from the left to the right side of the screen.
There are still other ways to move the locations, such as using a motion block code called “glide 1 secs to x: y: “, which allows the movement of a sprite to have a gliding or flying effect. Another concept is that the user can move following the mouse pointer.

Feel free to use your imagination in coding to move your sprites using these techniques.
Share your interesting scratch projects with the online scratch community and become the next generation of tech professionals.
Learn Scratch at BrightChamps with its specially designed curriculum that makes learning programming easy for students in Grade 1-12. BrightChamps also teaches a variety of other programmes that help kids build a foundation in computer programming through activities, assignments, and other means. We provide best programming classes for kids.
Also,Brightchamps offers engaging programming for kids courses, fostering their interest and skills in the world of coding.