Siri as most of us are aware is the voice assistant on Apple devices just like Amazon’s Alexa, Microsoft’s Cortana, Google’s google assistant.
Having a voice assistant on your device is both useful and convenient. So, today, we are going to make a project on Scratch that is based on Siri on Apple devices.
Well, simply put we are going to make our version of Siri on Scratch.
Table of contents
Siri Functions
There are various specific functions that Siri can perform such as
- Make calls/Initiate Facetime
- Send/read texts
- Set alarm/times
- Set reminders/check calendar
- Split a check or calculate a tip
- Play music
- Identify songs, provide song info like artists and release date, etc
- Control home kit products
- Play TV shows and movies, answer questions about them
Besides these functions, Siri can also perform many other functions that can help users in different ways.
To explore more about how Siri can do simple calculations like “Addition”, “Subtraction” and other mathematical operations, I am going to use Scratch. So, Let’s get started.
For this project, I am going to use the online application of Scratch 3.0. We can also download the offline application of Scratch 3.0 and use it. Here, is the link to Scratch.
Before we start with the project, let me explain the Scratch platform for a better understanding of the project.
About Scratch Programming
Scratch was designed by MIT for school-going students so that they can connect with a programming language as they grow and develop interests in programming, the programming language used in scratch is called “Block-based programming”.
So, let’s get started with our code for our version of Siri on Scratch or what we call also call a “Virtual Calculator”.
How to Make Your Version Of Siri on Scratch – Virtual Calculator
Design
Step 1: Click on the create button to create a new project.

Step 2: Download an image of “mic” and save it to some location on your computer then upload the image as a sprite in Scratch.
To upload the image click on the cat icon at the very right bottom corner and then click on the upload sprite button and then upload the image from your device.
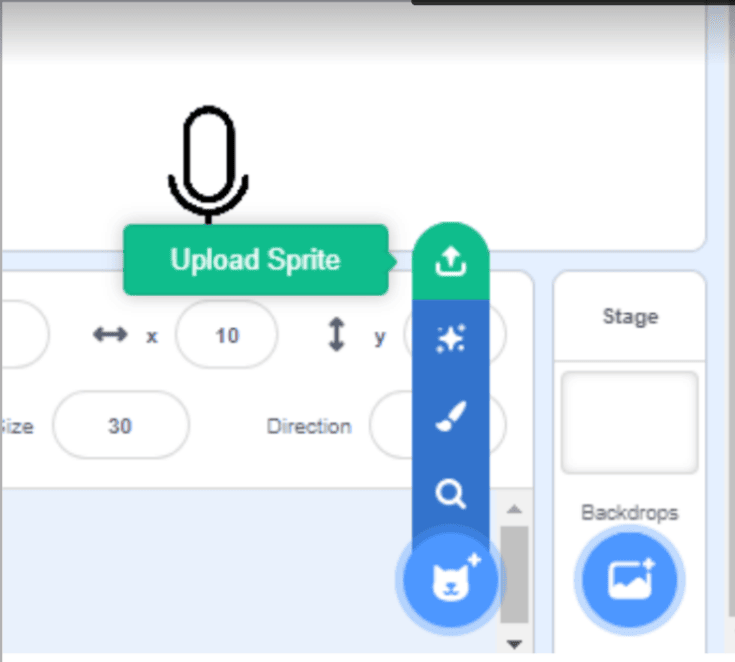
Step 3: Now start designing for this Sprite, Select the image and resize, rename and reposition the sprite from the right bottom corner.
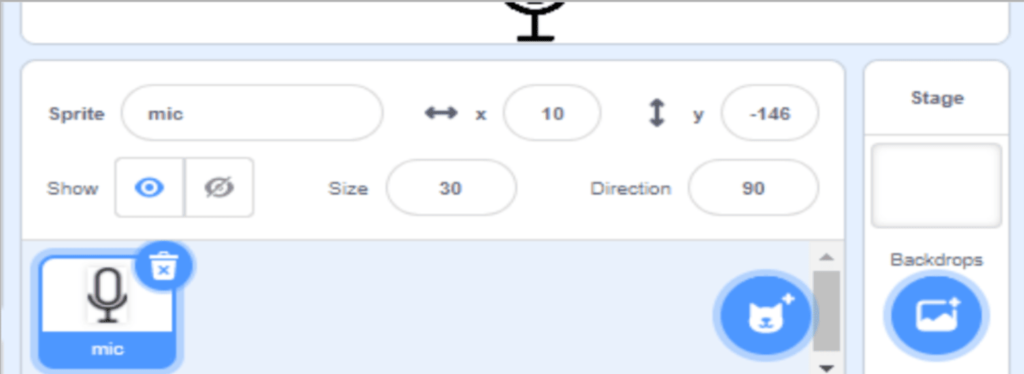
Step 4: To add the “Text to Speech Extension” to convert the text to speech for the sprite “mic”.
To select this go to the left bottom corner like this.
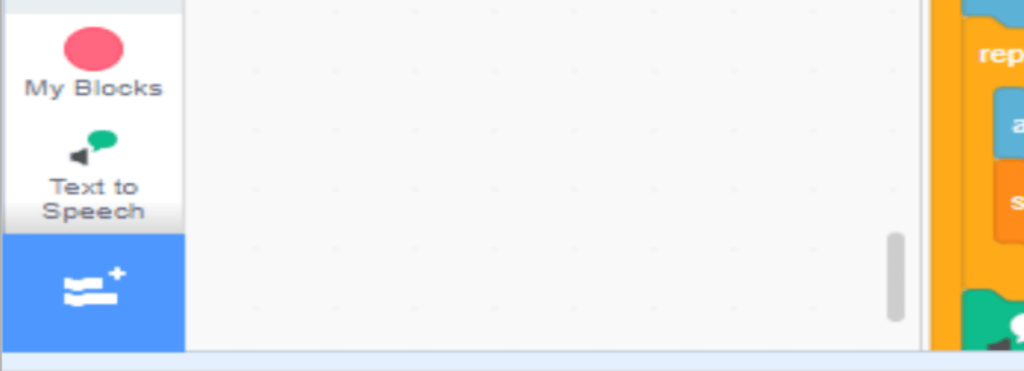
The window shown in the image will be opened for you if you click on the extension icon.

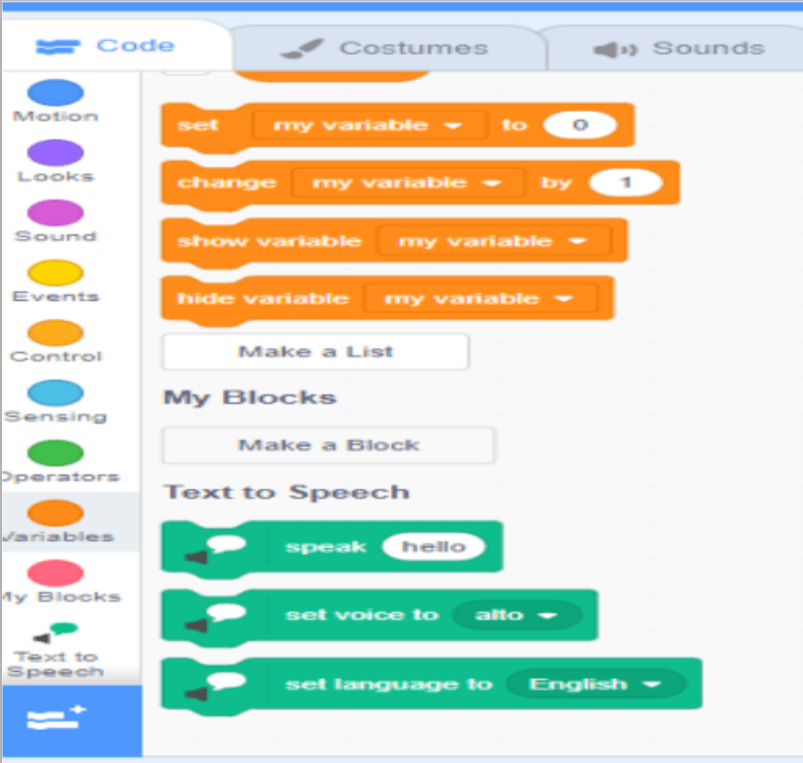
Click on the “Text to Speech” button to select this extension. When you add this extension, it will show up at the bottom of the block panel, as shown in the image.
Code
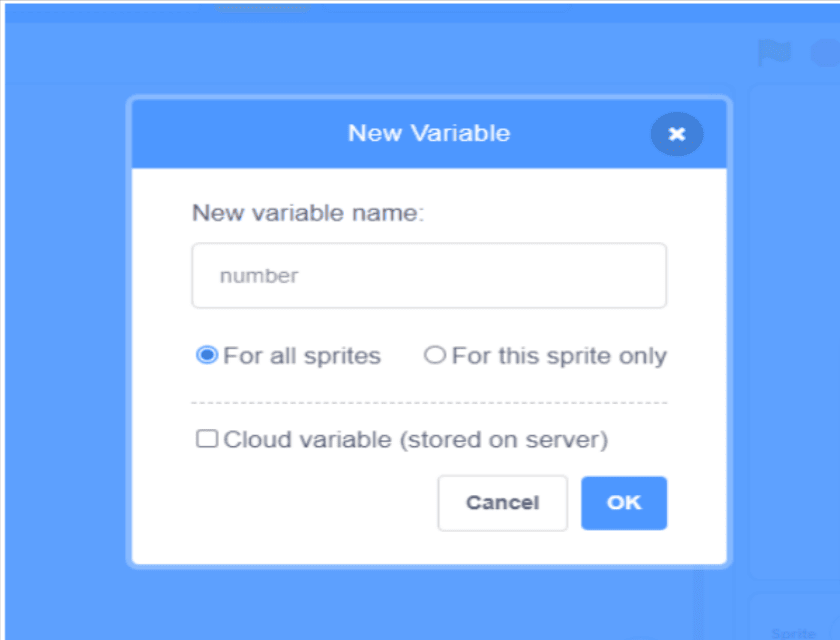
Step 1: After adding the “Text to Speech” extension, Let’s create the variable, “number” which is required for mathematical operations in the project.
To do this go to the code panel and click on the “variable” button and then click on the “make a variable” button to make the variable.
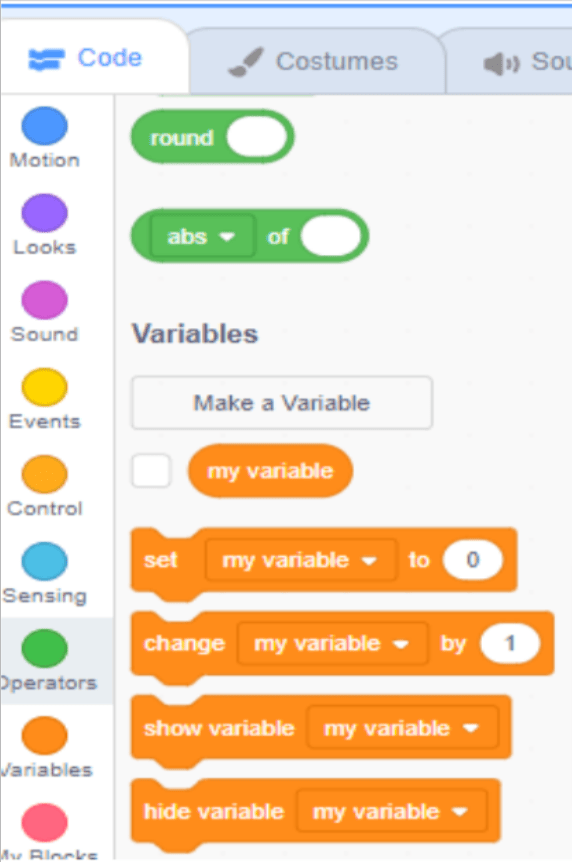
When you click on the “Make a Variable” button, a new window will appear as shown in the image; in this window, type the name of the variable as “number” and click on the “OK” button.
Step 2: On the Coding Panel, click on the “Event” button and select the block shown below,
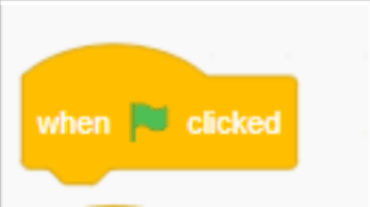
and drag it to the middle panel or workspace.
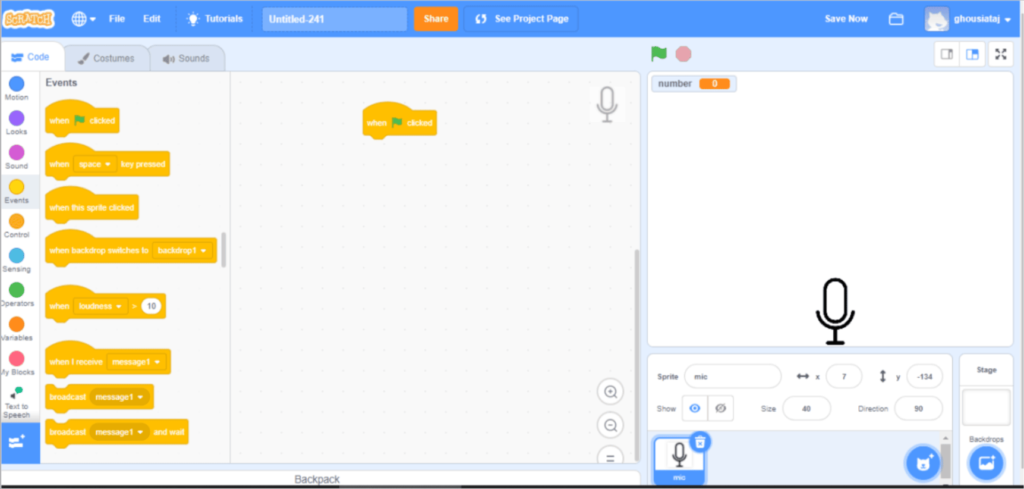
Now you can start coding.
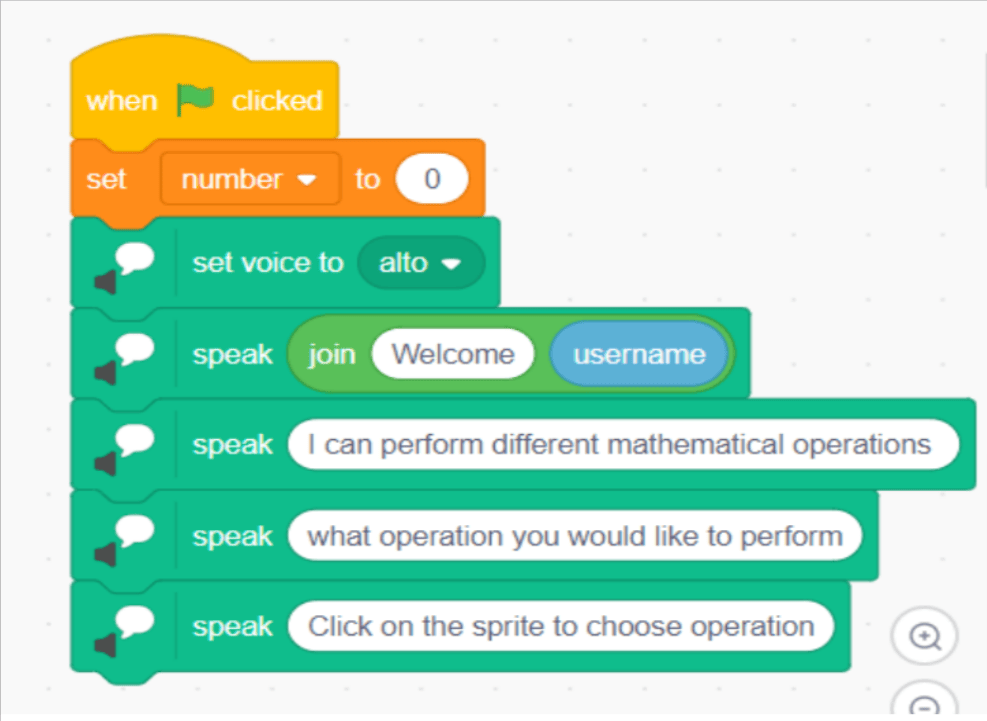
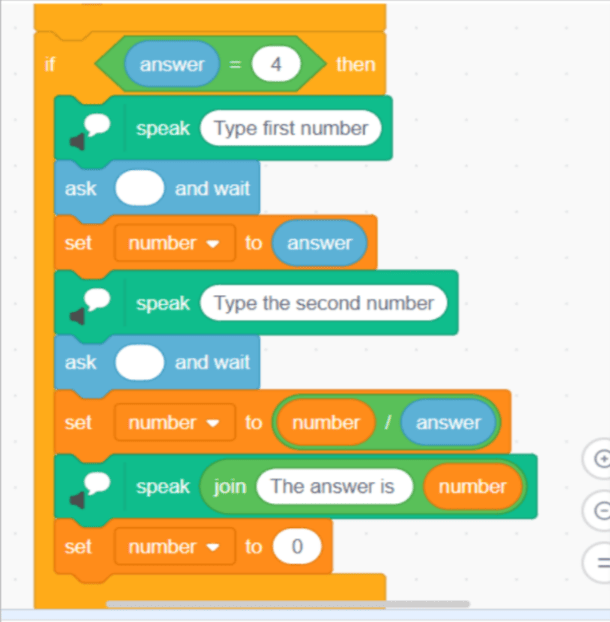
The complete coding for “Virtual Calculator” or Siri in Scratch is shown below.
Part 1:
Part 2:
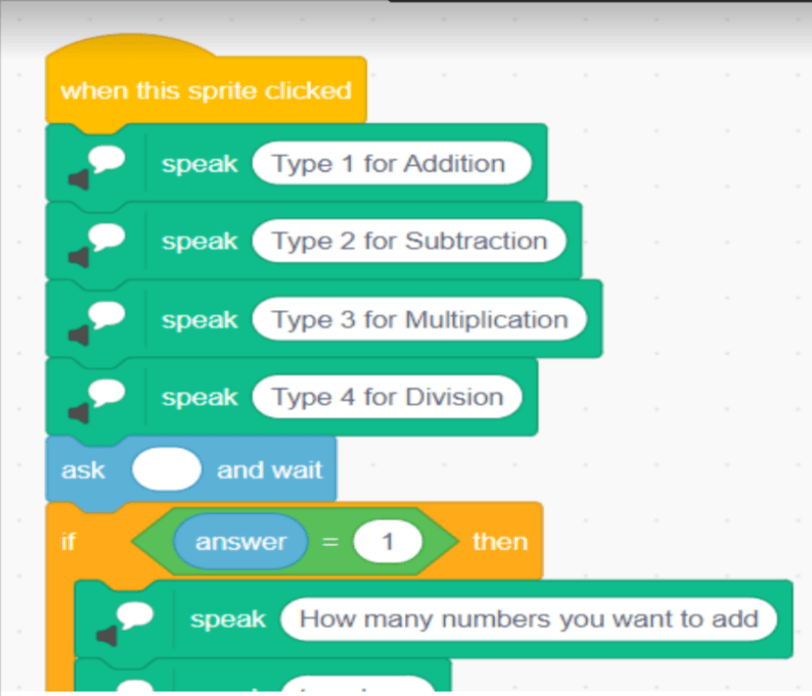
Part 3:
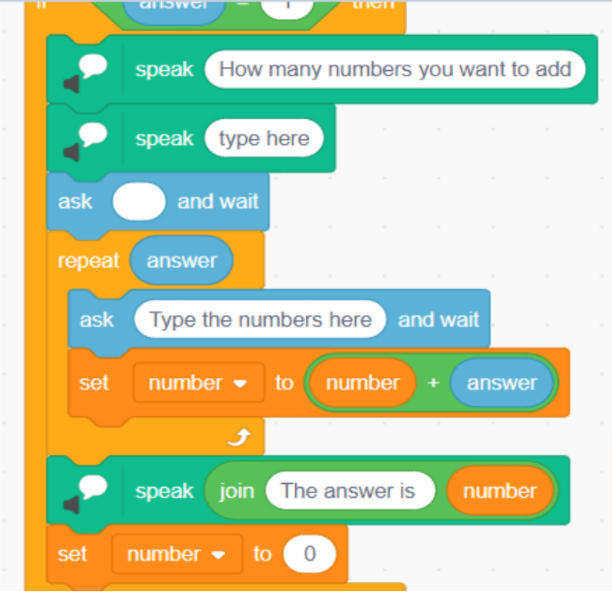
Part 4:
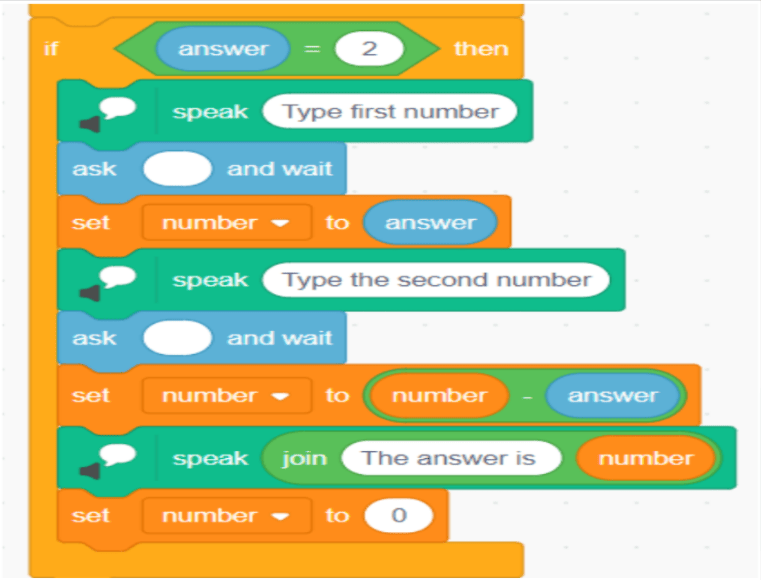
Part 5:
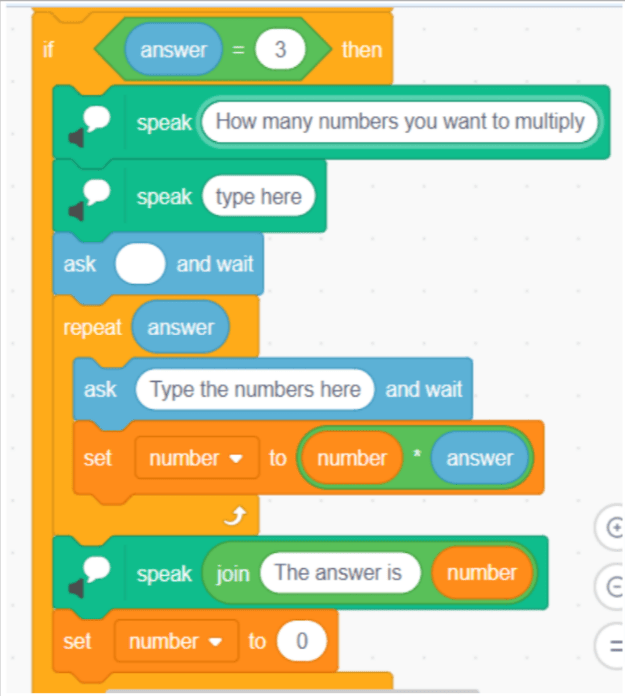
Part 6:
Explanation of Codes
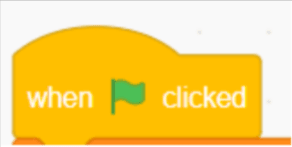
It is an Event Block, in this project it is being used to start the “Virtual Calculator”, Events blocks tell Scratch when to start running the program by setting a triggering moment, such as clicking the green flag.

This block is used to set the variable “number” as 0 as when the “Virtual Calculator ” gets started the number variable should be 0.

This block is from “Text to Speech” to set the voice of the speaker. For this project, I have used “alto” as this is the voice of a female.

This block is used to convert the text to speech. Here,

The join code is from the “Operator” block and is used to connect two different Strings.
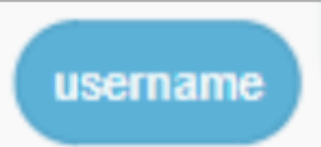
This code is from “Sensing” and is used to determine the user name; by using this block, we can make the “Virtual Calculator” speak about the various users.

This block is used to convert the text to speech.
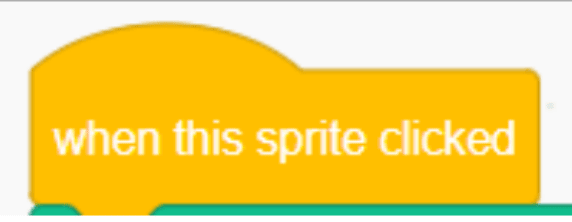
This Event Block is used to trigger the sprite, every time the sprite is clicked, the codes attached to this block will get triggered.

This code block is from Sensing Block and this block is used to receive input from the user.
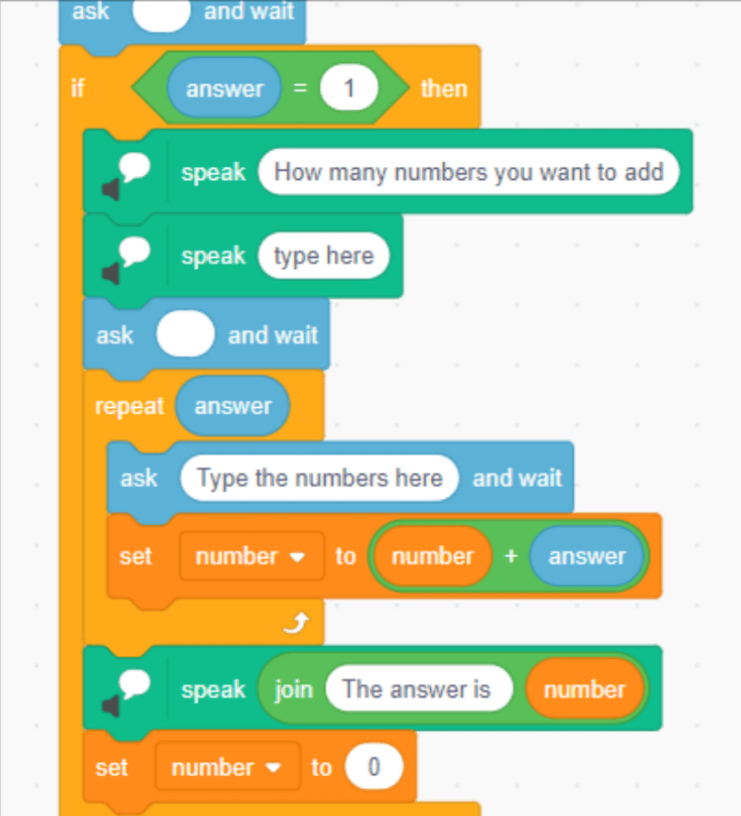
If a block is a logical block, it is used here to apply logic, because this “Virtual Calculator” can perform four operations, namely addition, subtraction, multiplication, and division, so for each operation, the user must type a specific number in the text input block, 1 for “Addition”, 2 for “Subtraction”, 3 for “Multiplication”, and 4 for “Division”.
After the project is complete rename the project from here:

Conclusion
Click on the Share button to share the project. You can also copy the URL and share the project with your family and friends.
I hope you enjoyed and learned something from this blog; feel free to make changes and remix the project as you see fit.
The link to the complete project is attached here:
Happy Learning!
Learn Scratch at BrightChamps with its specially designed curriculum that makes learning programming easy for students in Grade 1-12.
BrightChamps also teaches a variety of other programs that help kids build a foundation in computer programming through activities, interactive lessons, and other means.
Explore the BrightCHAMP blog page to discover educational insights, tips, and strategies like coding games for kids and kids coding languages to enhance your child’s learning experience.

